-40%
NVX SDDK12 12 Sq ft. of 4-Door Kit Sound Damping Material (4 12" x 36" Sheets)
$ 23.75
- Description
- Size Guide
Description
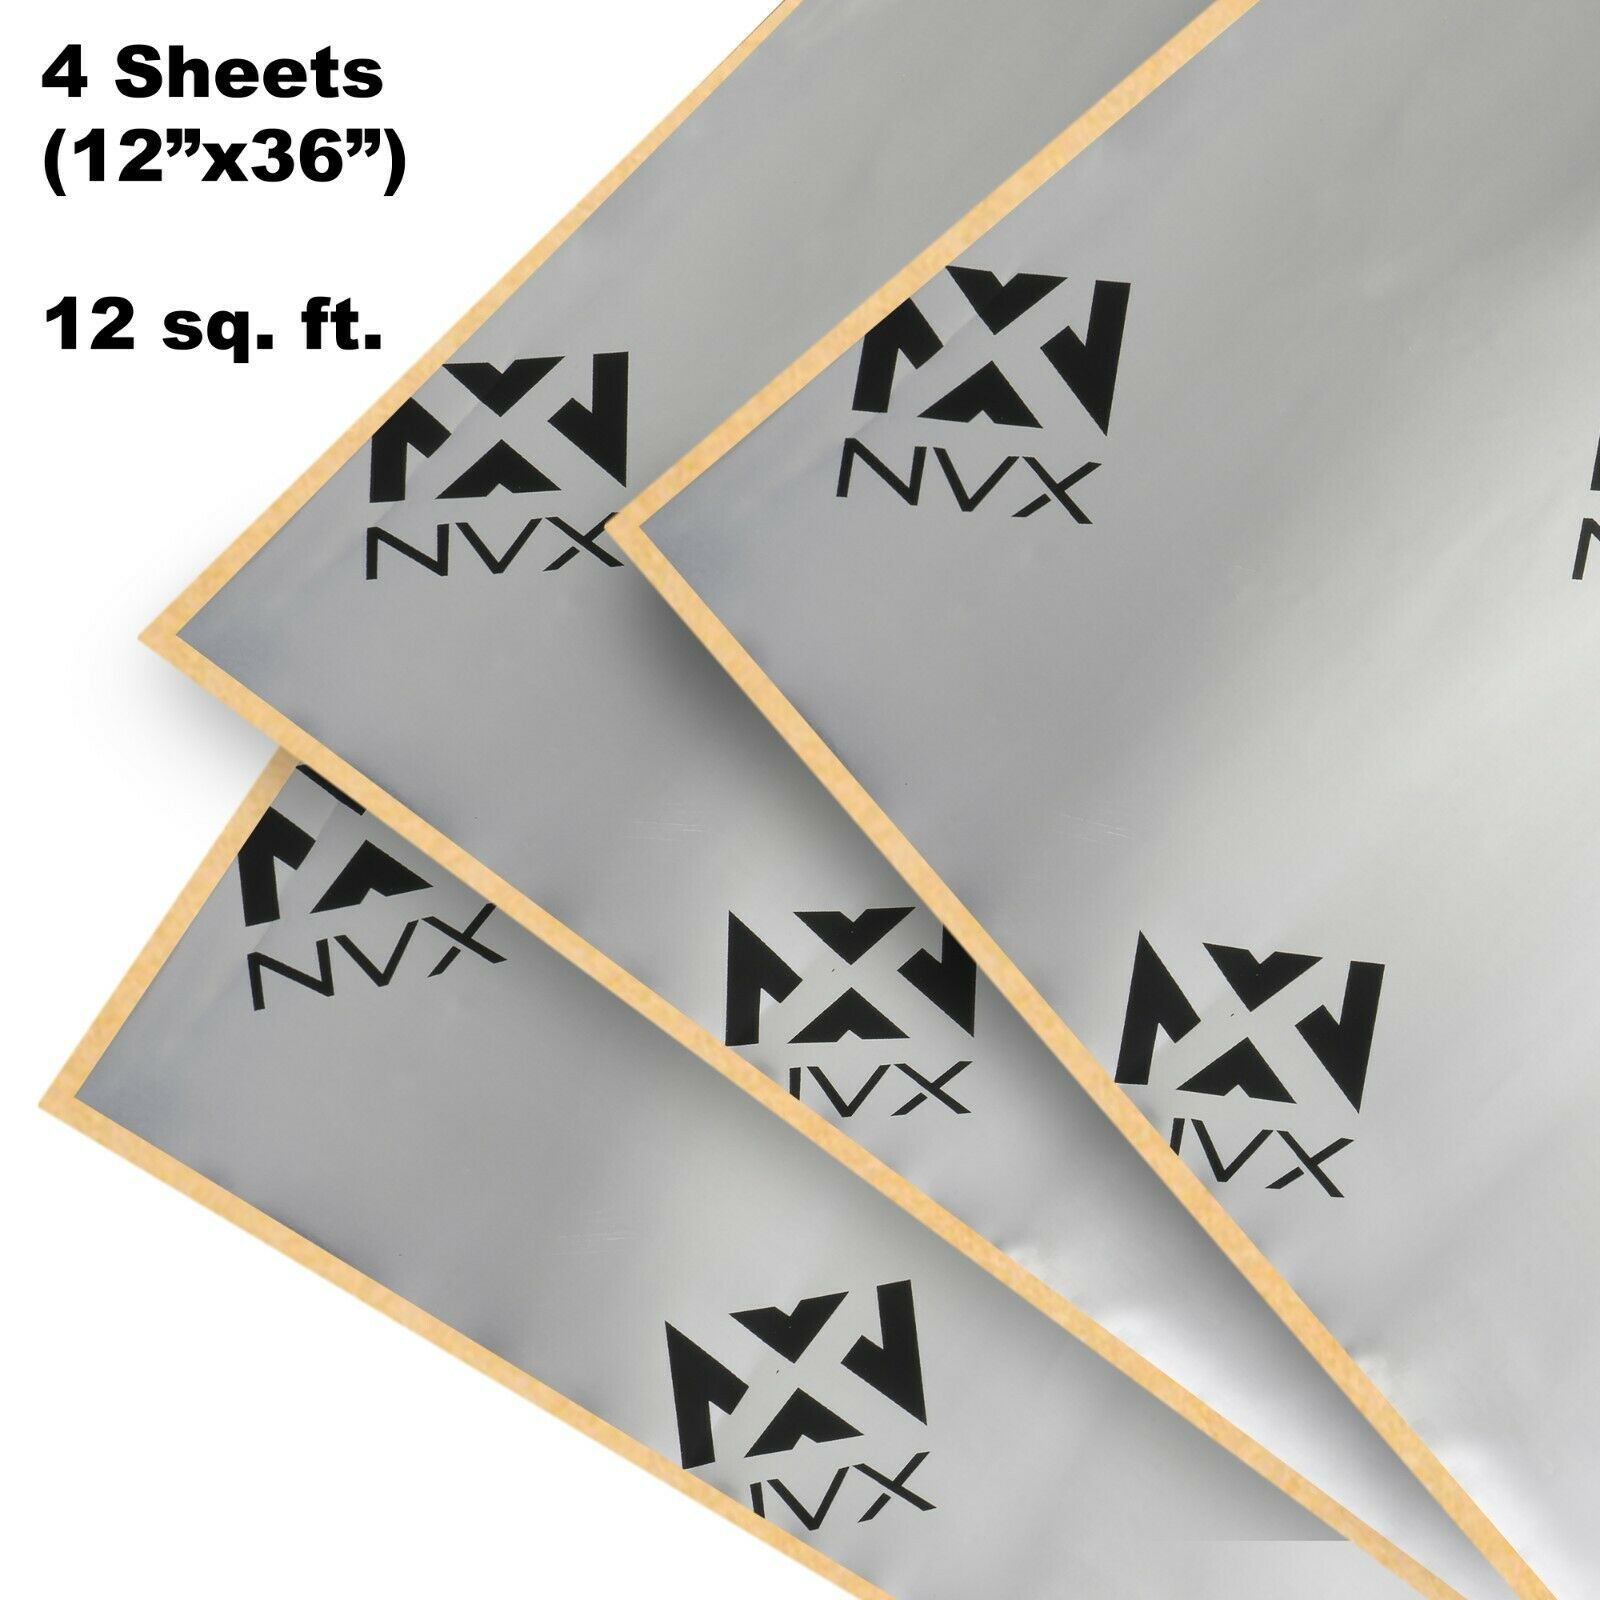
Product FeaturesFour 12" x 36" Pieces of Sound Dampening Material
90.55mil thick (2.3mm)! There are cheaper, inferior solutions at 50-80mil, but we do not recommend that thin of a solution as it will not perform as well.
12 Square feet total
Made from 100% Butyl Rubber
Eliminates road noise
Quiets vibrations
Increases sound quality and output of car audio system
Stops rattles
Increases SPL
Reduces heat
Easy to form aluminum conforms to desired area of vehicle with ease
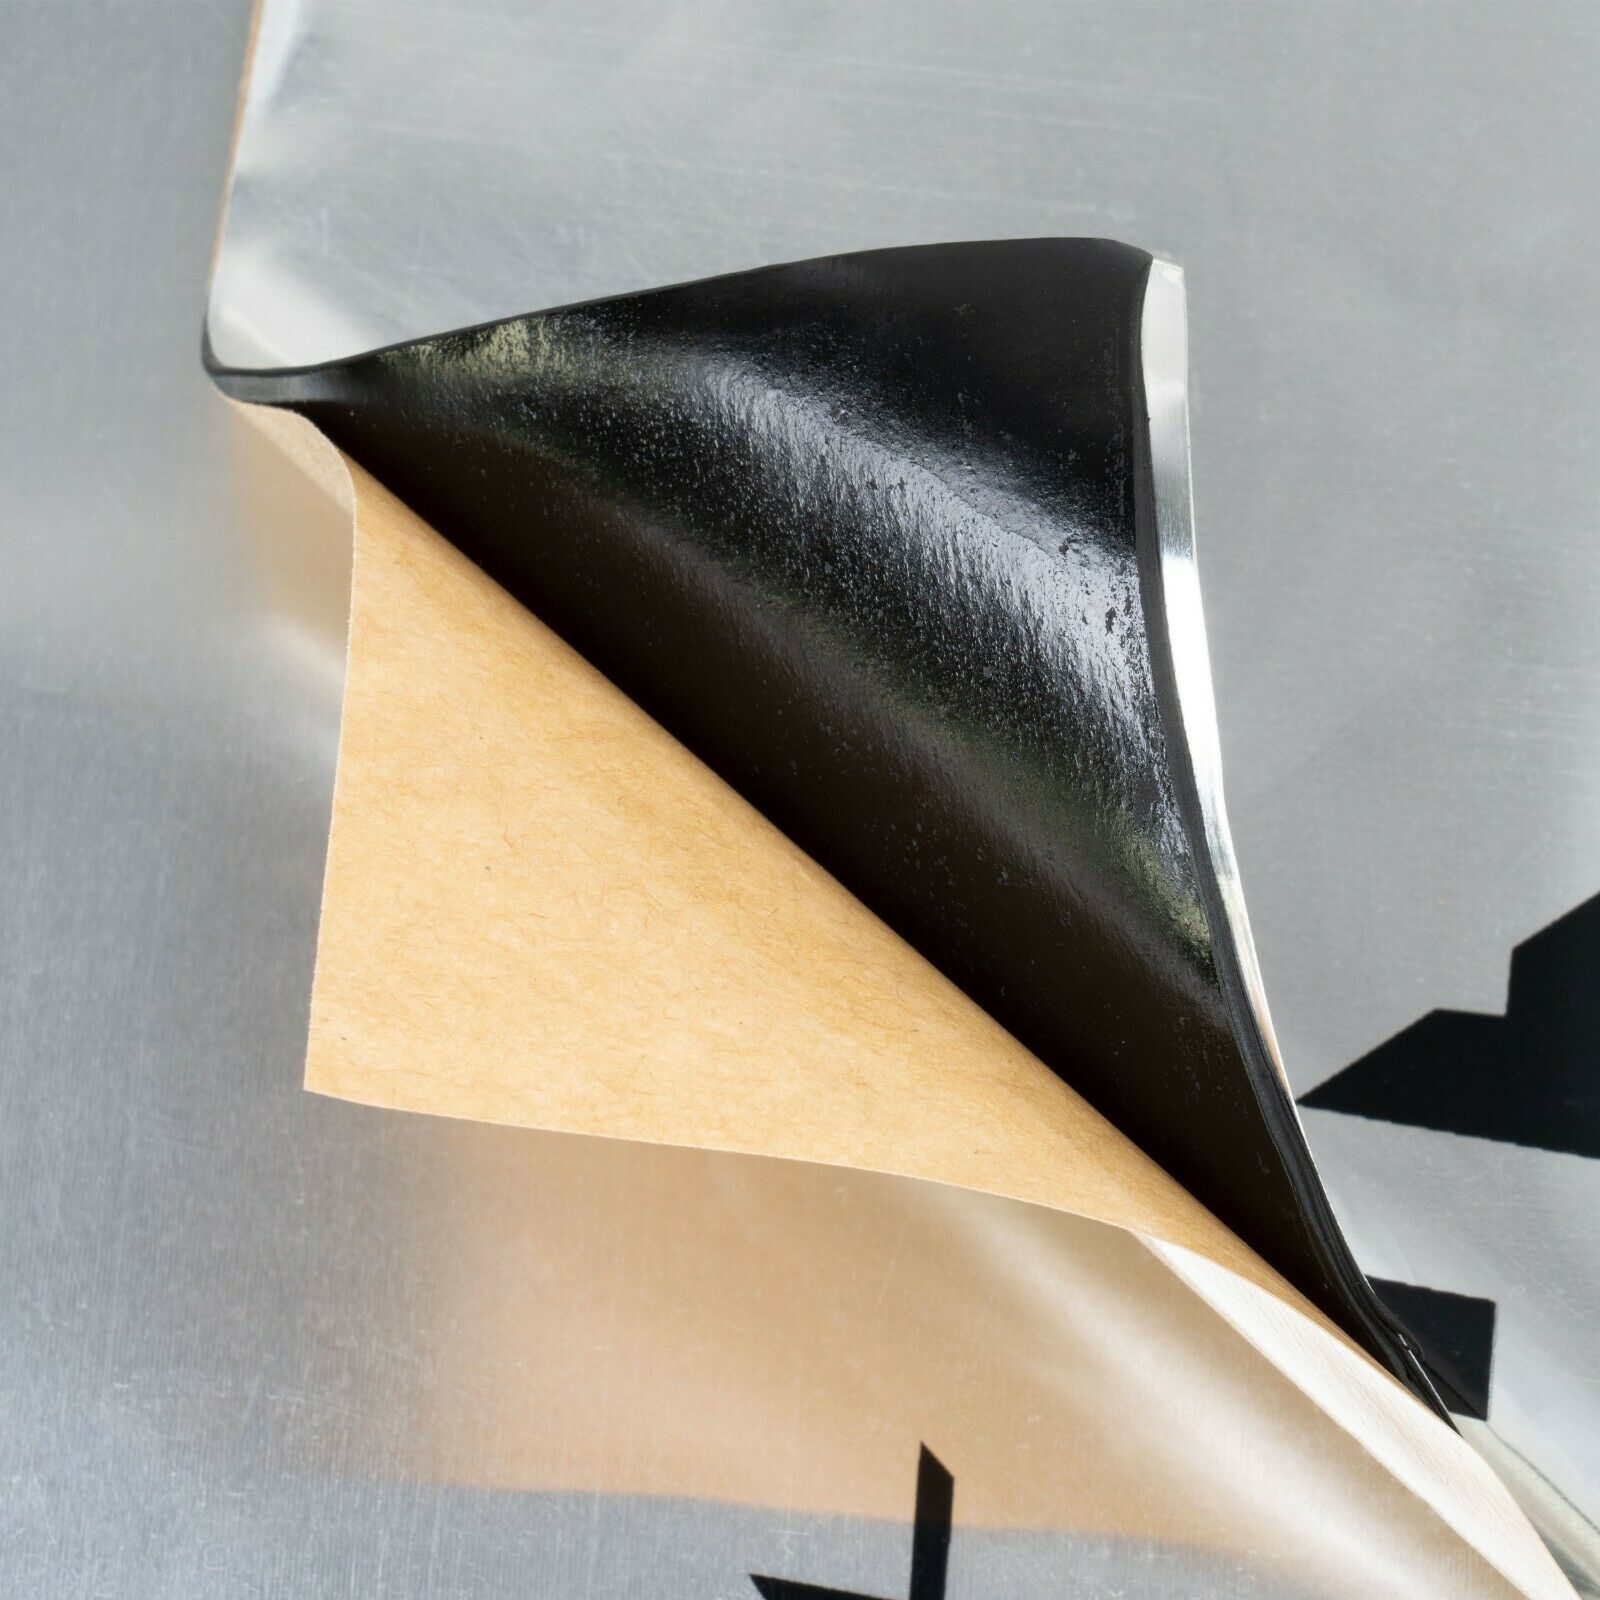
Four step peel and stick design for easy installation
Up to 30% thicker than the leading competitors
Dimensions (each piece): 12"
L
x 36"
W
1-year Manufacturer's warranty
How to Install Sound Damping Properly
Sound damping can be a very beneficial accessory to reduce noise and vibration. To take full advantage of this soundproofing, read these instructions carefully and follow them till the end. It’s important to familiarize yourself with all the details to install the sound damping correctly. Incorrect installation will result in less than desirable results.
Step #1
The first step is to decide which location in your car you want to insulate. These locations include the floorboards, roof, door panels, trunk or firewall. We recommend soundproofing all metal surfaces for maximum sound deadening performance. Next, refer to your vehicle’s service manual for information on how to dismantle the trimming panels. Be careful when removing the panels to avoid breaking the fixing clips.
Step #2
Once the trimming is dismantled, remove the remainder of the factory insulation if it is damaged. If it is still intact, there is no need to permanently remove it. Next, you need to properly clean, dry and degrease the prospective surface. Sound deadening won't adhere properly if applied to a wet or dirty surface. Use a metal surface cleaner or degreaser along with a dry, clean rag. Make sure to use gloves and apply the degreaser in a well-ventilated space.
Step #3
For this step, measure the prospective surface you are going to treat. To make things easier, make a template of the appropriate size on a large sheet of paper and then transfer it to the damping material. That will make it easier to install it more accurately and avoid wasting material. Use a utility knife to cut the desired shape and size. Be careful and use gloves to protect your hands.
Step #4
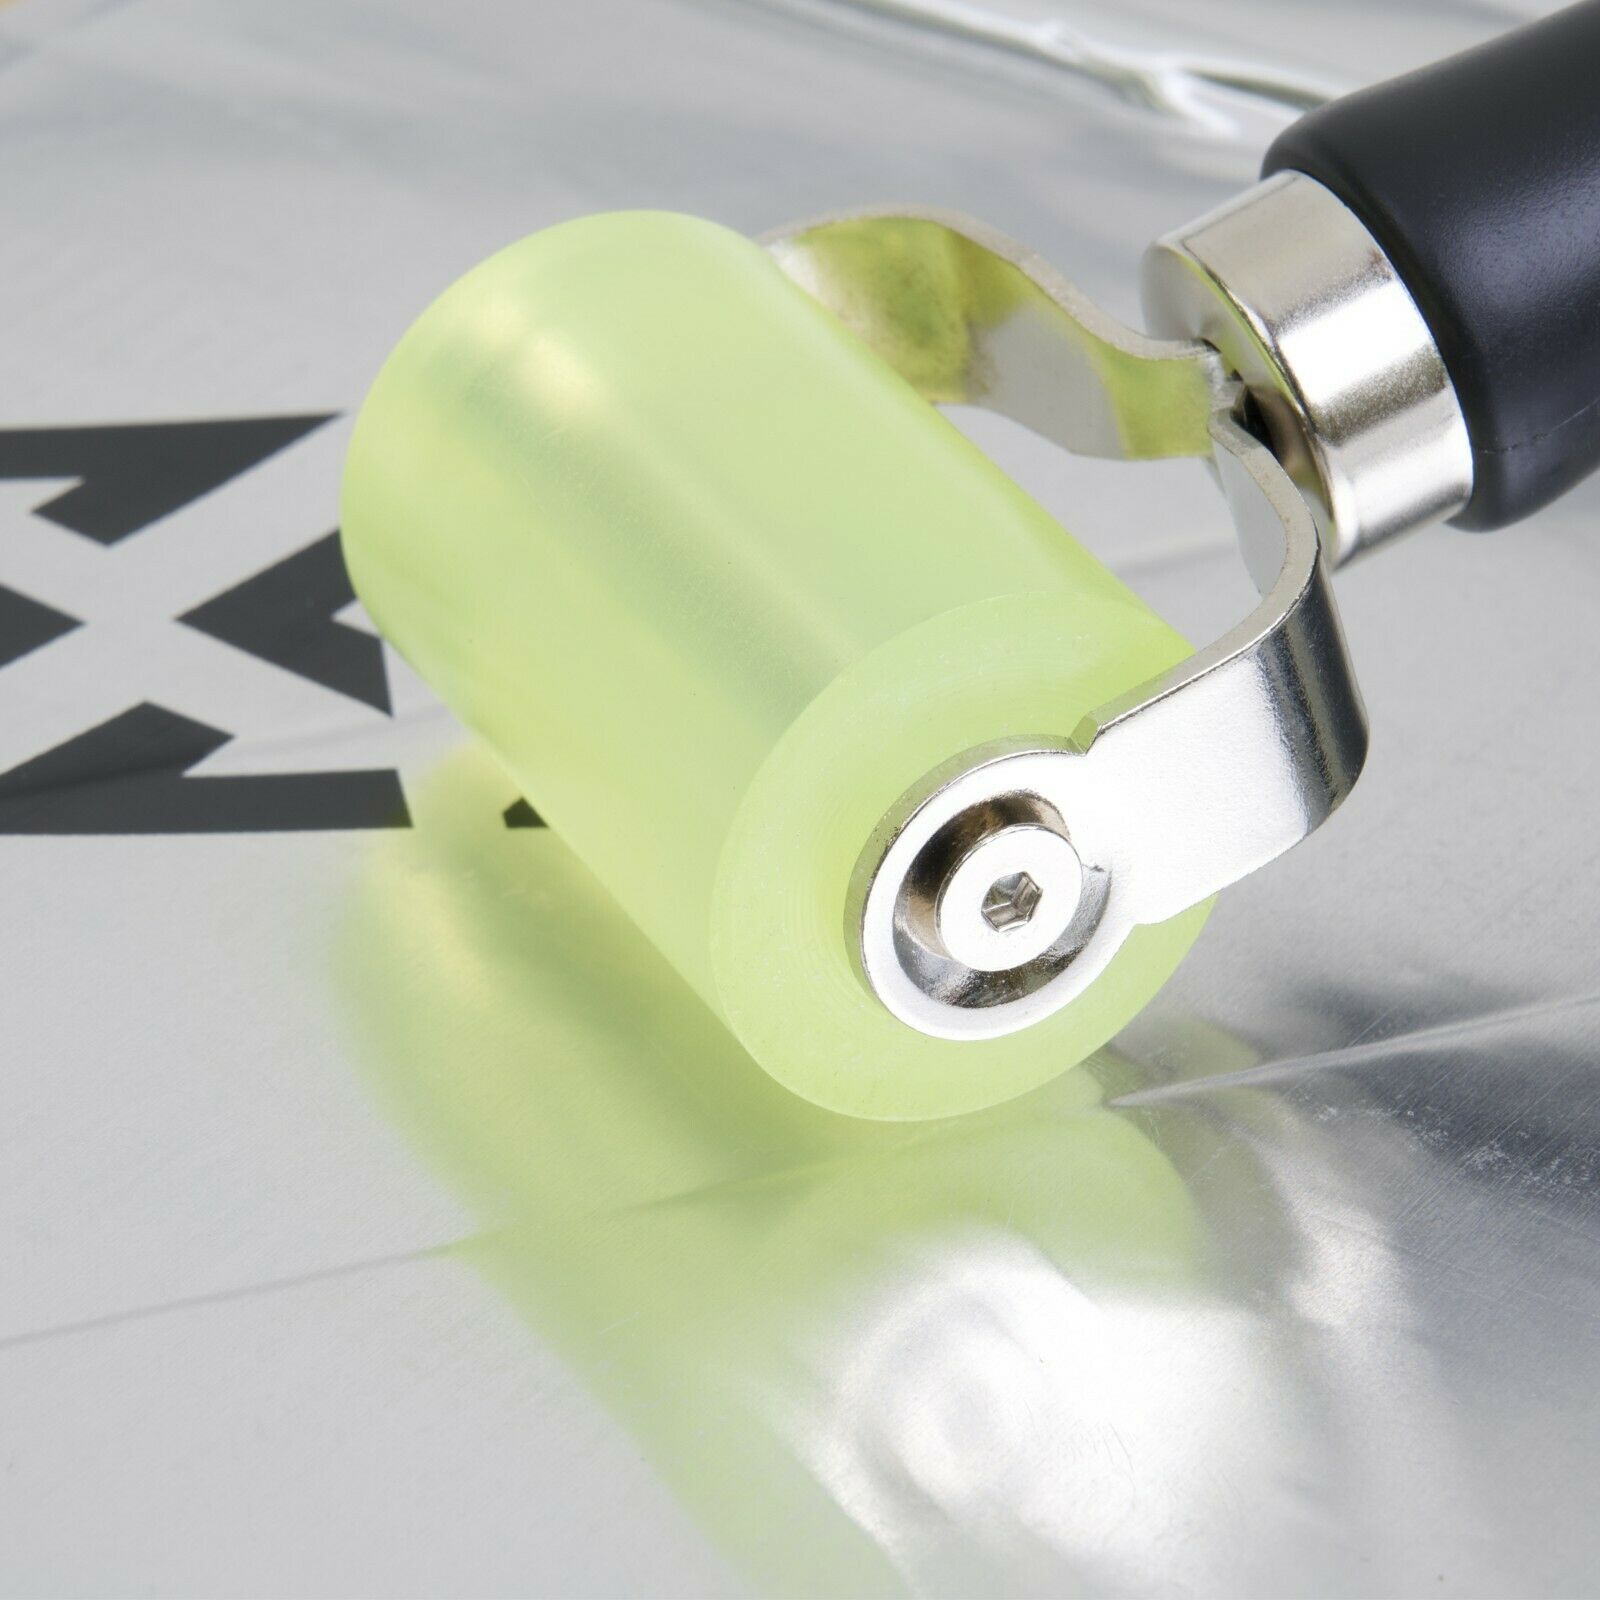
Place a sheet of sound damping to the surface without removing the protective film. If it covers the surface properly, you are ready to install it. Gradually remove the protective paper film as you apply it to the surface for better adhesion. Once on the surface, press it down firmly until it is set in place. Flatten it with your hands to avoid unnecessary air bubbles. Use a rolling tool like the [[sdrlr1]] to press the mat down to the metal surface. Go across the entire surface with the roller to ensure that the sheet is installed properly.
Step #5
Once all sound deadening is in place, simply reinstall all trim pieces and carpet back to its original placement. Now you are ready to enjoy higher sound quality with fewer vibrations.


